WHY IS FURNITURE REFINISHING SO EXPENSIVE?

In last month’s blog, I discussed furniture repair, and offered some rules of thumb on whether or not it would make sense to repair an old piece of furniture, as opposed to buying new. It all depends on the quality and value (financial OR sentimental) of the piece, and how much money you would be willing to spend to replace it. Let’s say your hutch, or whatever, is of high quality, and doesn’t need much repair, but the finish is really in bad shape. You decide you want to explore refinishing it, but you are surprised at the high cost. A quality refinishing job is not cheap, and here’s why.
Removing the Old Finish
First of all, the old finish usually must be removed, unless it just needs another coat of finish to brighten it up. There are two ways of doing it, either by sanding down to the bare wood, or by using chemical paint removers, or a combination of both. If the piece has a lot of detail, and not merely flat surfaces, chemicals will be needed. If any of you have done this before, you know very well what a messy, time-consuming project it is.
Water base removers (like water base finishes, in my opinion) are inferior. If the furniture has veneer, you cannot use water based removers OR finishes, as you run the risk of lifting the veneer. So, you’re stuck using the solvent based removers that are loaded with high VOC, toxic and flammable chemicals. You will need a quality respirator, and you better shut off any pilot lights near your work area. You may have to use a few applications to cut through the thicker old finishes.
Sanding and Surface Prep
Once the finish has been chemically removed, you are far from done. You will then need to dig out pieces of finish that have remained in grooves, beading, etc. Once the surface is dry, everything must be sanded, using progressively finer grades of sandpaper. You may have to do more extensive sanding to rid the surface of stains, burns, or blotches from previous wood stains.
After vacuuming and a final wipe with a tack rag, you are ready for finish. If you choose to re-stain the wood, that is the first coat. You can brush it or wipe in on, being very careful to apply it evenly, with no streaking or overlap. I hate stain, and only use it when absolutely necessary. If you want a dark finish on new wood, use walnut of mahogany!! There is nothing worse than trying to stain cheap softwoods into looking like quality hardwoods! Now you are ready for the finish coats.
Applying the Finish
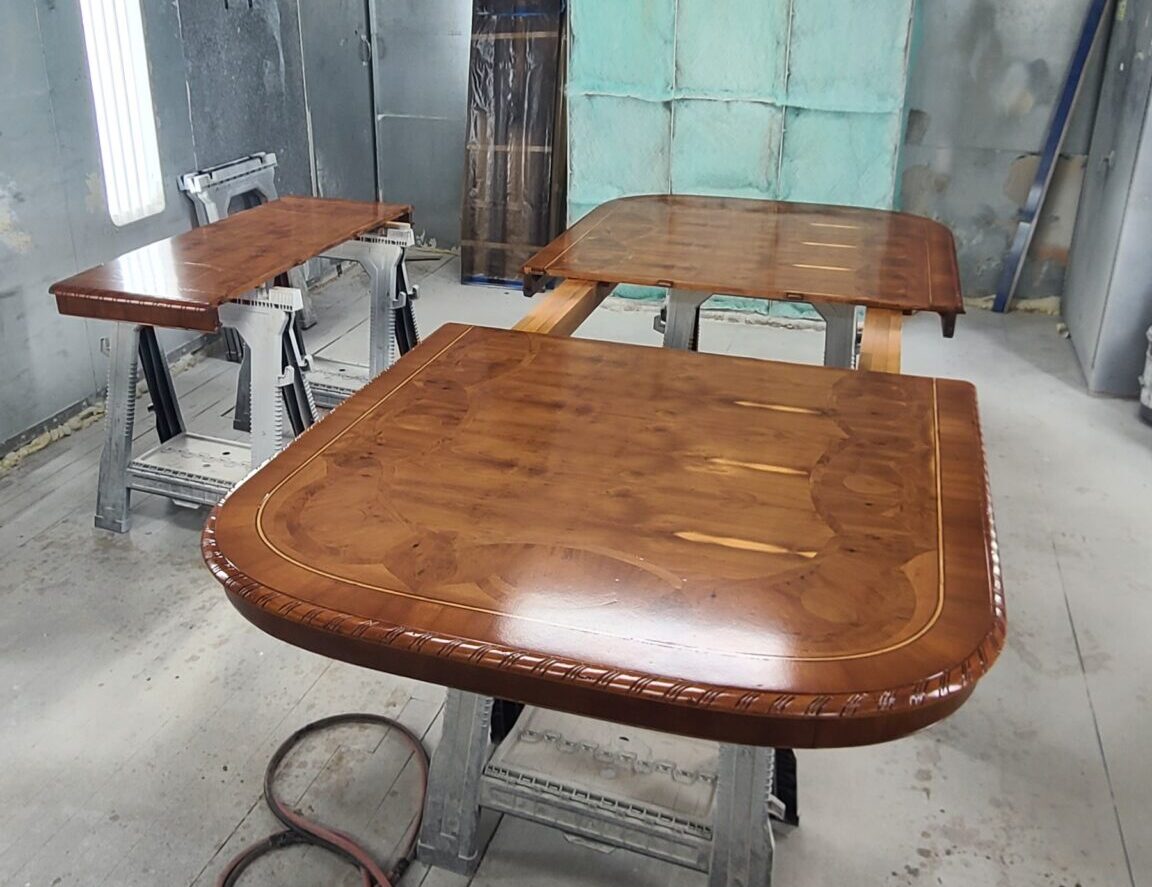
We have a huge ventilated automotive spray booth with extensive dust filters, which enables a flawless sprayed finish in lacquer or lacthane. Each coat of finish, usually three, must be sanded between each coat, by hand. Should the customer want a high-end oil based polyurethane finish, that cannot be sprayed, and is applied by brush. So that gives you an idea of how labor-intensive (read: expensive!) finishing- or refinishing- can be.
A Few Examples
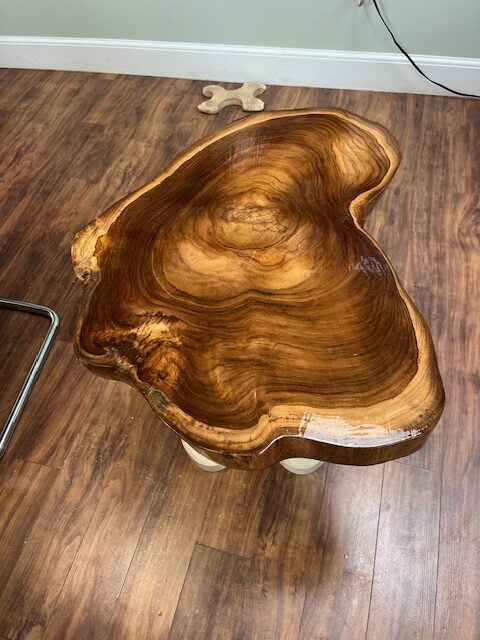
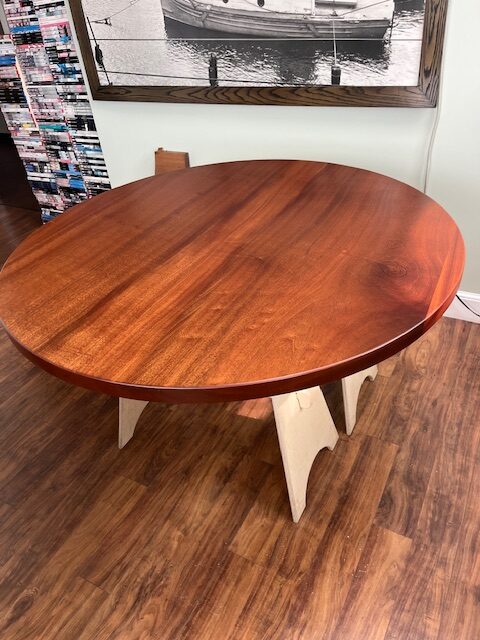
Below are two photos. The first, an end table we made from a Teak “cookie”, with a high gloss brushed poly finish. The second is the round table-top, built from 8/4″ Sapele Mahogany. This table was made for a very discerning client, who graciously allowed me to print his comments. Here’s what he had to say:
“In life, we often get acceptable or OK or just fine. Rarely is anything absolutely perfect, exceeding your wildest imagination of what you had in your head. WELL, THIS DID!! Thank you so much!”
– Dr. Matt Finklestein, Stoughton, MA.


